Behind the Scenes

The life of a jewelry designer is fun and creative, as well as quite a bit messy, and frequently stressful. But it is at this intersection I find myself very much at ease, reveling in the feeling of creating something from nothing, with my own two hands, a free spirit and a glass of wine or two as I see fit.

I love to share my passion and process with fellow jewelry designers, both established and aspiring, and delight in learning in turn from others. It is with this spirit Melani Wilson Designs is evolving into a new phase, one I can’t wait to share with you soon…

Wedding Work

Doing work for someone’s wedding is one of the greatest honors in my jewelry making life. I’ve had brides approach me to do gifts for their wedding party, create signature earrings to be worn in the wedding, and create gifts for their mothers and soon-to-be mother in laws. I’ve worked with long time friends and strangers. Recently, I had the complete and utter honor to create individual jewelry pieces for the wedding party, including flower girl, and the mother of the bride, plus earrings for the bride’s rehearsal dinner, for a dear bride that I’ve known since she was a child.

What made this project so fun was the bride’s desire to have pieces that really reflected the personalities of her bridal party. She sent an email with descriptions of personalities and styles with links to some photos of my existing designs. From that, I made a number of pieces—I always make extra choices. I emailed the photos, we chatted via email, and then I made a few more pieces. Her mom also sent me a photo of her amazing MOB dress and we texted about how she would wear her hair, what kind of stones she likes, and price points. I created 3 different choices for her as well.

The best moments are finally getting together a few days before the wedding and figuring out the winning pieces. I must confess there was a little bit of sparkling something being consumed as bride and MOB decided what was going to work. So fun and so fulfilling for me! I thank this sweet bride and all those that came before for trusting me with such a special moment.

Wire Wrapped Jewelry--Earrings for Every Outfit!

Years ago I took one jewelry class--in wire wrapping--and developed an entire jewelry business around it.  In its hey day, I had 5 part time employees, a web presence, and enough retail outlets to keep me busier than I really wanted to be.  I still make jewelry for special orders, family and friends, and the occasional art fair or trunk show, but I do it all by myself.  For me, the business end wasn't as fulfilling as the creative aspects and I didn't have enough hours in the day to do both!  Maybe someone could just hire me to be a designer!  Please!?!?!?

Back in the day at the web launch party. What a fun time!

Back in the day at the web launch party. What a fun time!

Trying to fulfill a special order, I went searching for my local bead stores to find they had closed!  I think the big, box stores like Michaels and Hobby Lobby have taken over.  The ease of ordering supplies on the internet and getting discounts on volume or for wholesale caused me to stop patronizing my local stores.  Their demise is unfortunate because where will folks go to learn how to do these simple techniques?  Probably YouTube, right?

So here is my stab at the internet tutorial.

Supplies:

Start with base metal wire to practice and beads of your choice.  Wire should be 24 gauge, half hard, round wire.  This is a classic size and type to use for wire wrapping.  If you are making a bracelet eventually, you will want to use 20 gauge to secure the clasp.  (The lower the number the bigger the diameter of the wire.)  For earrings, choose an ear wire you prefer--I like the French ear wires (as do my customers!).  French ear wires don't fall out and add a little bit of pizzazz and motion to the most simple earrings!  Fire Mountain Gems is a great place on line to order supplies and their quantity discounts sure help!  I also like the fish hook ear wires with the ball.  Also, you will need head pins--the longer the easier to work with, in my opinion.  I like 2 1/2"-3" long head pins with a ball on the end like these from Fire Mountain:

Sterling Silver Head Pins with Ball End--a classic, unfussy look!

Sterling Silver Head Pins with Ball End--a classic, unfussy look!

French ear wires used with Leland Blue Stones for one of a kind earrings.

French ear wires used with Leland Blue Stones for one of a kind earrings.

Tools:  You will need flat nose pliers, long round nose pliers, and a flush cutter.  I love the Swanstrom brand of products that can be found at Rio Grande's web site, but there are lots of more economical brands available too.  If you do develop a business, you may want to consider upgrading your tools!  You deserve it!

All the tools you need to start a jewelry business!

All the tools you need to start a jewelry business!

Technique:  Explained for right handed folks--sorry lefties, but that's me!

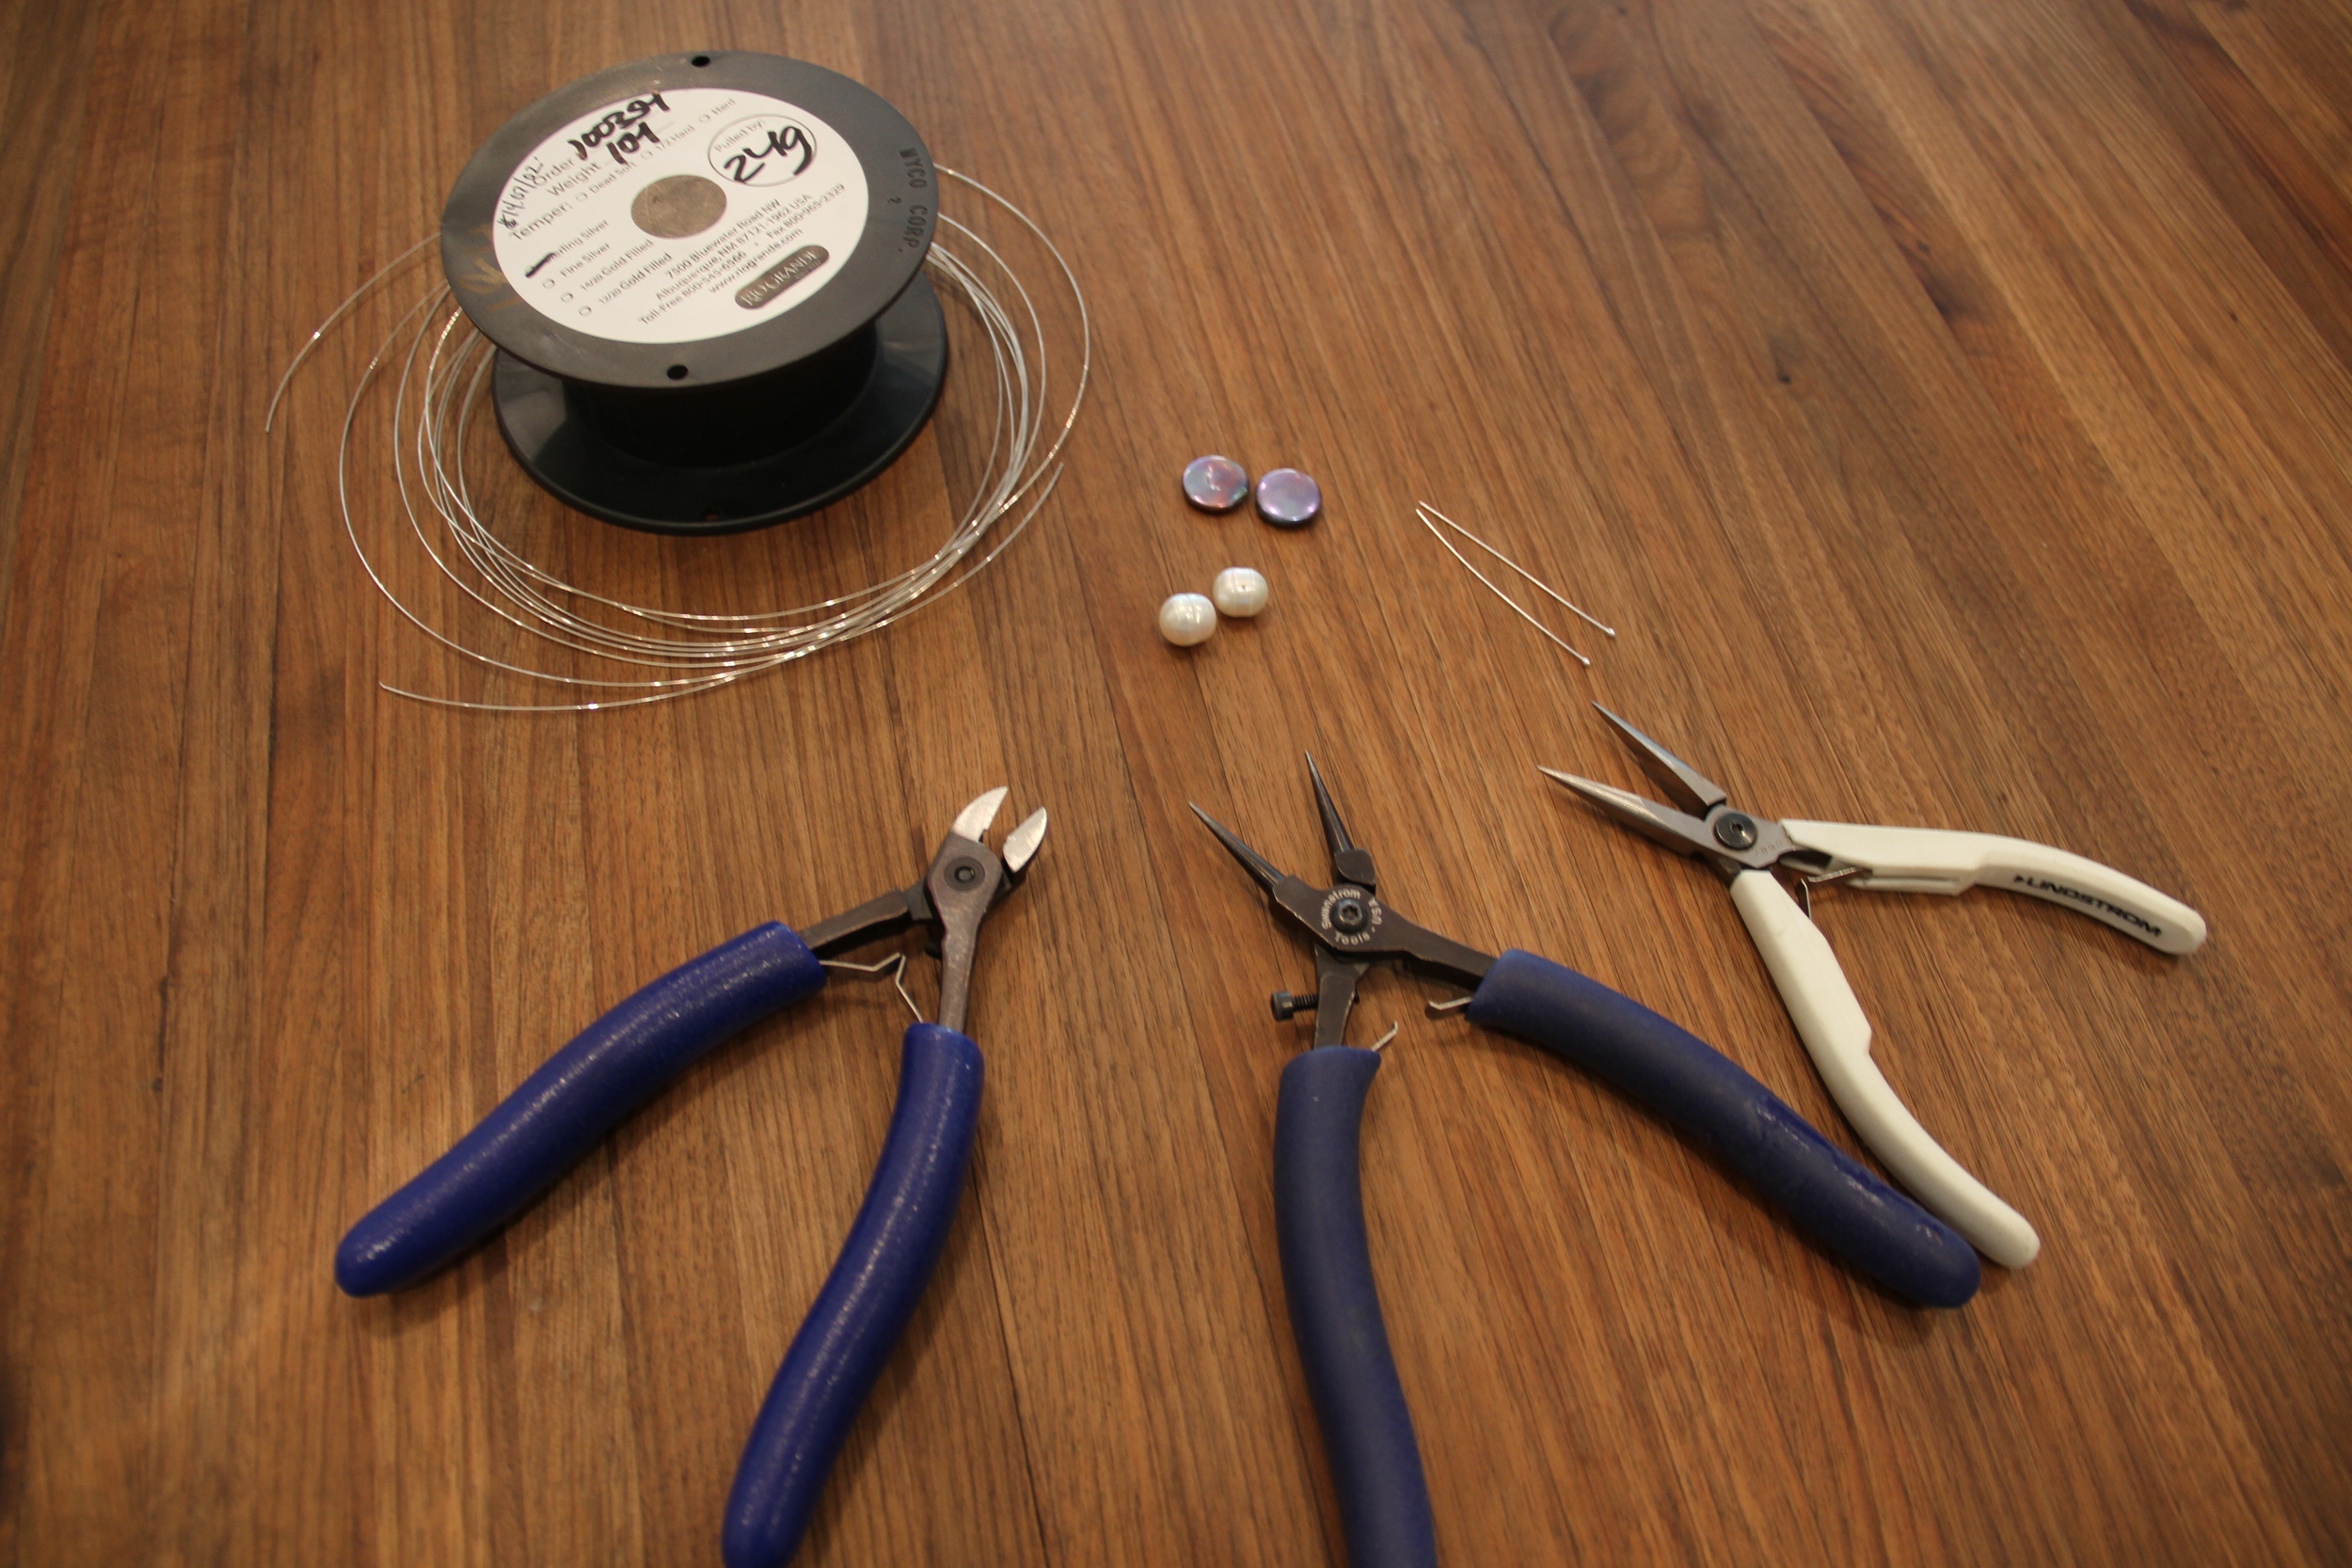
1.  Begin by cutting 10-12 pieces of wire approximately 3" long.

2.  Using the round nosed pliers, take the first wire and bend it away from you in a right angle approximately 1" from the top of the wire. (I call this "Right Angle."  I will continue to list your commands out this way to help jog your memory)   You will be moving this end of the wire at every step.

3.   Loosen your grip and slightly rotate your hand away from you, so that the pliers are grasping the "corner" you have just made. ("Corner")

4.  With your left hand, bring the top part of the wire back over the top of the pliers and bend all of the way to the front so that both tips of the wire are pointing down.  ("Front")

5.  Loosen your grip again and rotate the pliers towards you (this is kind of like riding a motorcycle!) ("Motorcycle")  Bend the same end of the wire along the left side of the end that is down.  The wire you are bending will now be at a 90 degree angle from the bottom part.  ("Around to the back")

6.  Now release the wire from the round pliers.  Grab your flat nosed pliers in your right hand and hold onto the loop you have made with the tips of these pliers.  Grab the end of the wire you've been moving that is now sticking out to the left with the round nose pliers.  Wrap it around under the loop 2-3 times (whatever look you like...)  ("Wrap").  Using the wire cutters, cut the remaining end off as close to the loop as you can.  ("Cut")  If any rough pieces are sticking out, you can use the flat nosed pliers to press it down.

As you are learning the technique, you can say the "commands" I've listed to remind you where to go next.  After doing this motion many times, it will become quite natural.

As you can see, the barrel of the round nose pliers varies in diameter.  Where you place your wire will determine the size of the loop you make. Try to make all of your loops on a particular piece a consistent size.  Making a larger loop is great depending on your project and the size of beads.  Also, a larger loop works for the end of a bracelet.

6.  Once you've got your loops going and they look uniform you are ready to make a pair of earrings!  Instead of the wire, grab a pair of head pins. Put the bead or beads of your choice onto the pin.  Start the loop process by placing your pliers right against the bead and begin!  You will end up with a nice loop on top!  If you are using the fish hook ear wire, just gently open the front and slip on your bead.  Close gently by pressing with your flat nosed pliers.  Use a similar technique with the French ear wire.

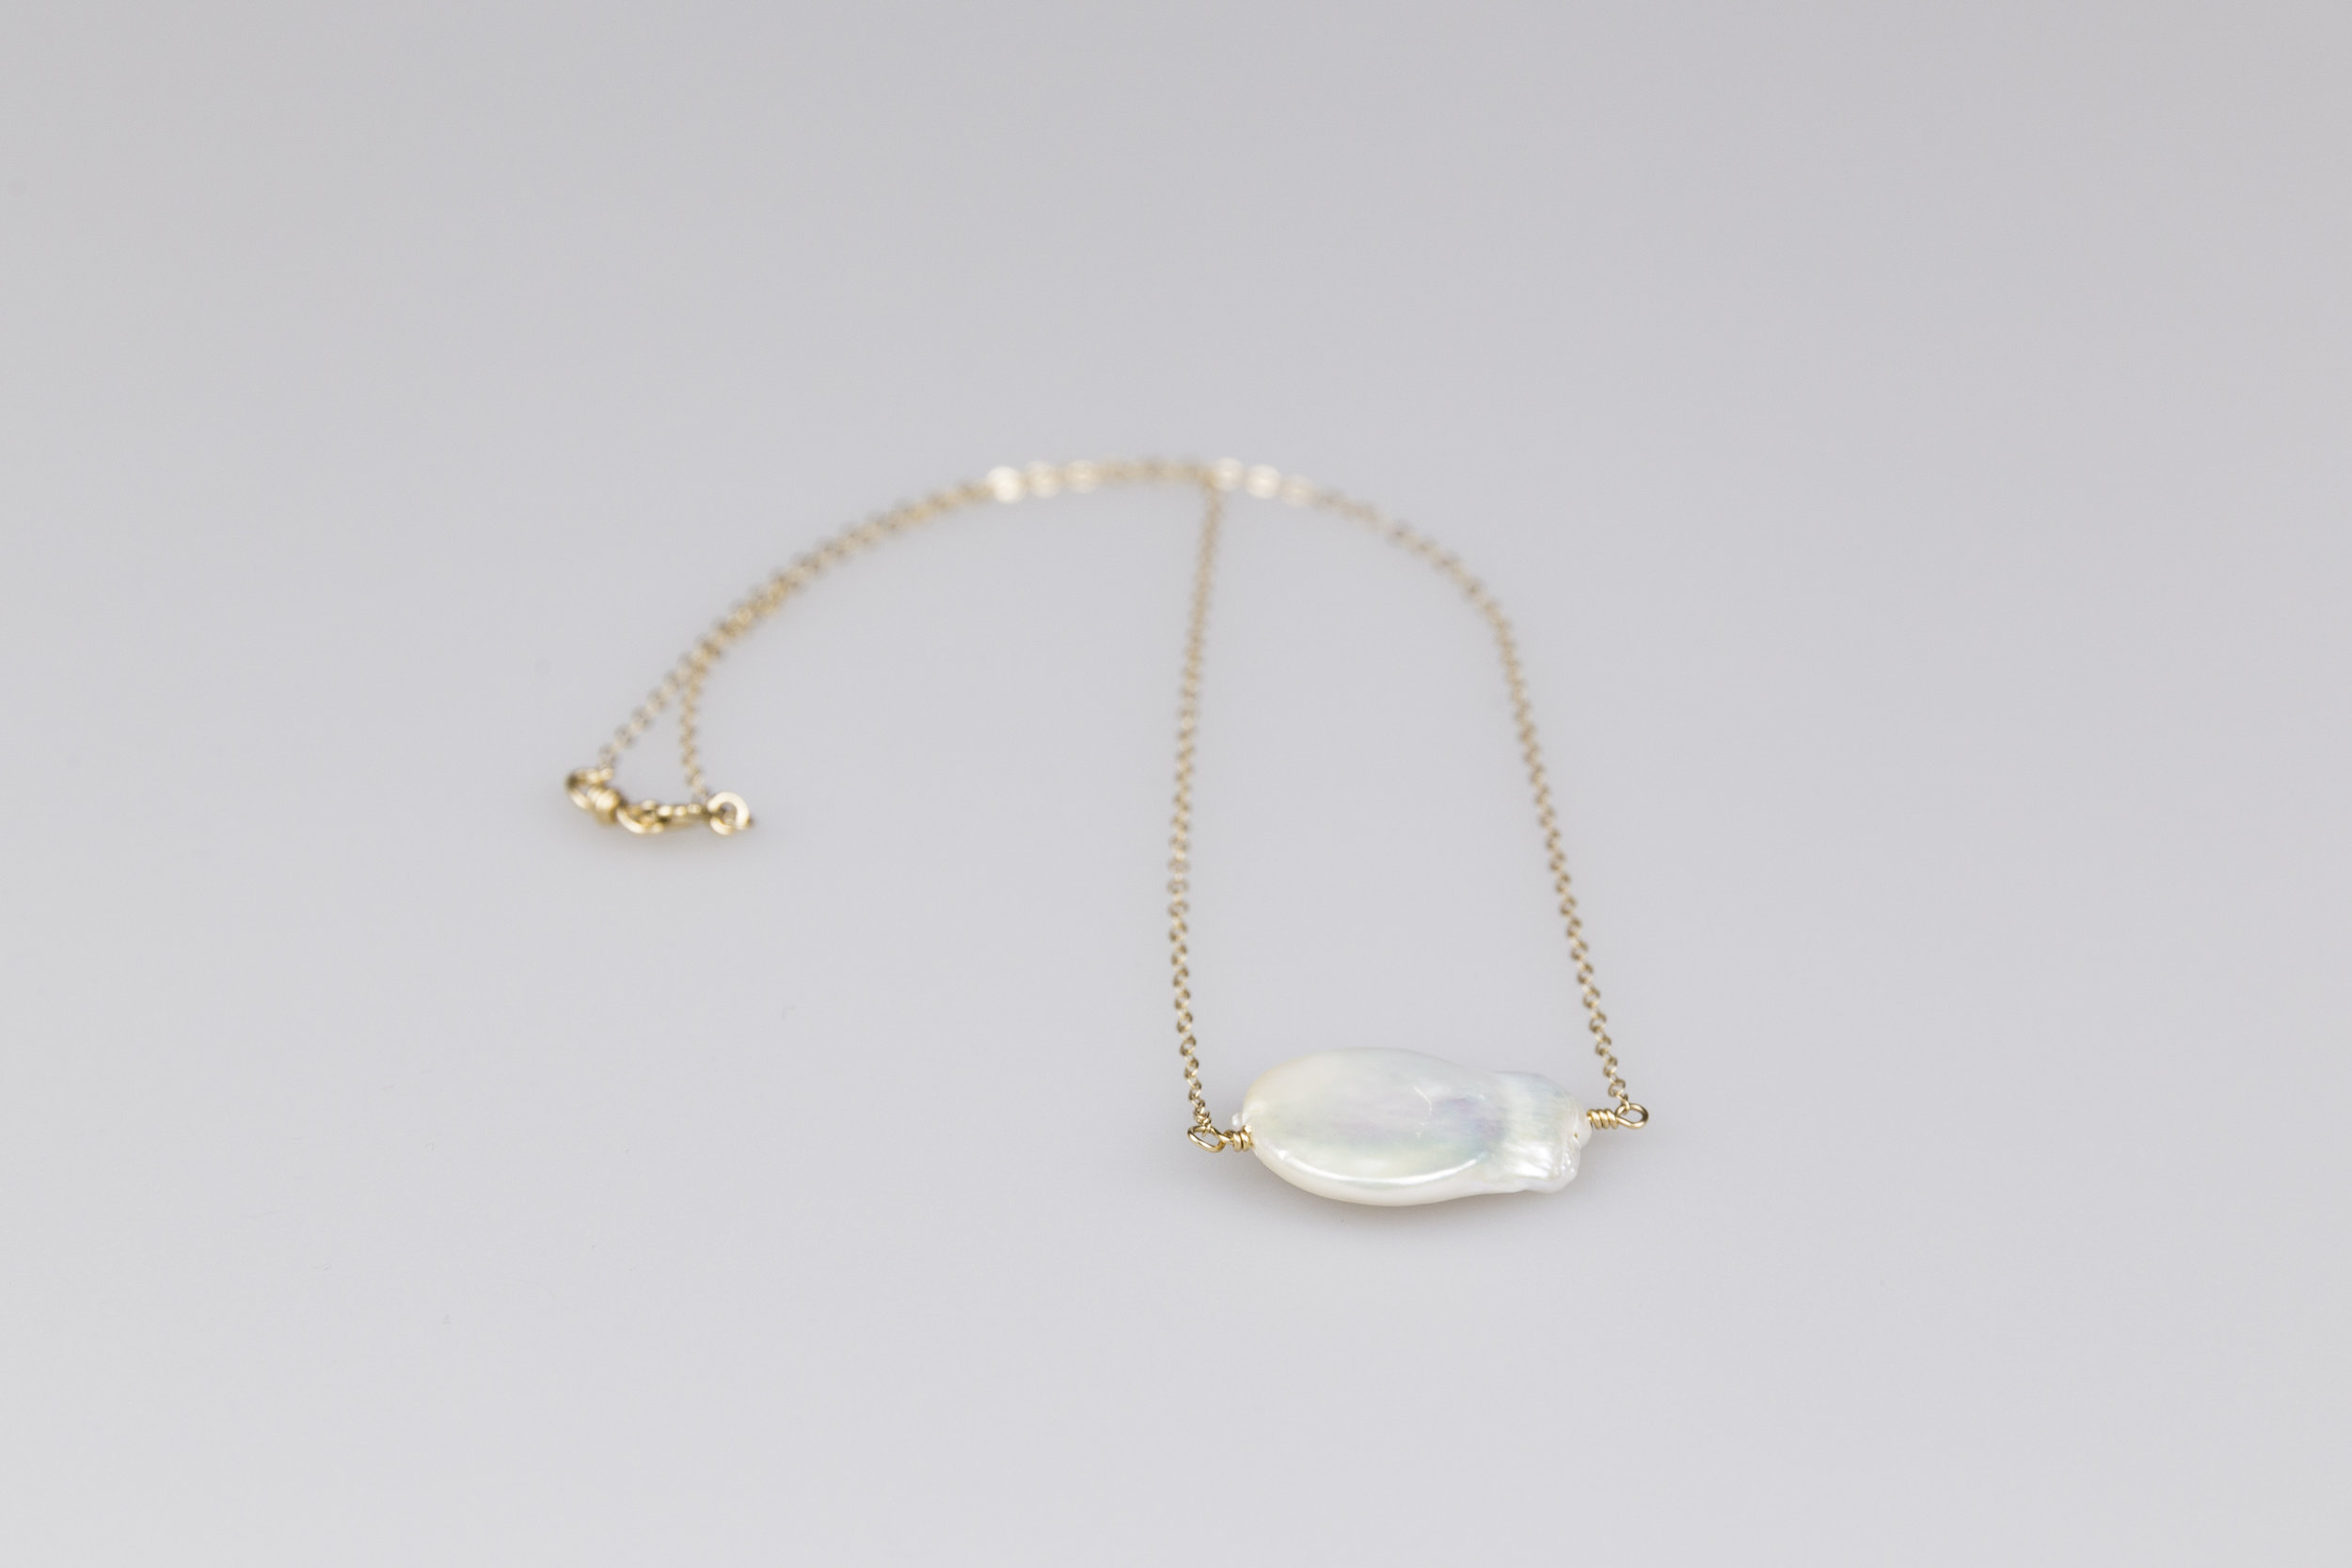
7.  For a change of earring design, use a wire, instead of a headpin.  Make your first loop, add your bead, make another loop on top of the bead.  Attach a cluster of smaller beads onto one loop using head pins.  See the example below:

Cluster Earrings using Coin Pearls and Semi Precious Stones. Who knows where your designs will take you!

Cluster Earrings using Coin Pearls and Semi Precious Stones. Who knows where your designs will take you!

I really feel that nothing can substitute for live instruction.  If the pictorial above is too difficult to follow, please try this video tutorial: [youtube=http://www.youtube.com/watch?v=haBdf-GTgfw&feature=youtu.be]

The Year of the Snake in Accessories

I must admit I prefer seeing snakes in metal form, rather than live and in person.  This being the Year of the Snake, this creature is front and center of many an accessories collection and is the subject of Bulgari’s retrospective exhibit of its Serpenti jewelry collection.

Now that’s how I like my snakes…Bulgari store front, NYC.

Now that’s how I like my snakes…Bulgari store front, NYC.

I’ve always liked snakes in jewelry–especially rings and bracelets which seem to lend the sinuous, wrapping ability of the creature to the form of the object.

You don’t have to shop at Bulgari to have a beauty wrap itself around your wrist.  A quick search on Etsy yielded 506 items.  Here is one of my favorites:

Consider this set–a vintage Whiting & Davis stamped belt and bracelet.  Amazing….

Mesh, enameled, bejeweled–snakes are available in all different interpretations.  This is the year to embrace the snake!

Man Jewelry

I’m taking a stab at man jewelry.  I’ve been seeing a lot of the macrame bracelets on the arms of a variety of men–from Kayne and Jay-Z to my local car salesman. Semi-precious stone mala beads, diamond encrusted beads (just assuming Kayne), and metal trade beads all seem to be components of choice.  The trend must be here to stay if there is a NY Times article about it!

Kanye sporting the layered bracelet look

Kanye sporting the layered bracelet look

How cool can this guy get?

How cool can this guy get?

I’m not heading down the diamond route, but want to make something attractive, tough, long lasting, and masculine.  Also, maybe with enough good vibes coming off of it to make the wearer feel creative.

My first attempts at a more manly look. Agate and obsidian and lava, amongst other stones.

My first attempts at a more manly look. Agate and obsidian and lava, amongst other stones.

So far, my stash includes black lava, bronze/silver/brass bicone metal from Ethiopia, ocean jasper, moss agate, black onyx, natural bone, and snowflake obsidian beads.  My guess is that I will have a lot of cross over purchases–maybe women buying for their men, but then wearing them themselves!  A great source for the beads on line is Happy Mango Beads.  They have an interesting selection, high quality and good prices.  What more do you need?

Going to your local music fesitval? Class? Work? You may need these.

Going to your local music fesitval? Class? Work? You may need these.

If you like Kayne’s multi colored Coachella bracelets, check out this link to Burkman Bros.  Rock on!

Latest Jewelry Designs

Melani Wilson Designs started as a jewelry design business 9 years ago.  I started making earrings for family and friends and one thing led to another and I found myself managing 5 part time employees and not having the time to do the fun parts of my business.  Web orders led to despair instead of excitement.  Making the same product over and over was sucking out my soul.  So, I took a brief hiatus and regrouped.  I found that I still really do enjoy making and designing jewelry.  When I see someone wearing one of my designs, I am proud and happy that someone else appreciates my work.

Talking me out of my hiatus was a wonderful customer who wanted 23 necklaces.  How could I turn that order down?  Then I decided to participate in the Leland Art Fair again with my cousin.  Now, I’m making orders as they come in and making items for my own use–be it gifts or donations or to wear myself!

Here are some of my latest creations:

This beauty adjusts to wear at a choker length or 36″. I must admit I’ve been wearing it myself! Gray Pearls, Labordite, African trade beads.

This beauty adjusts to wear at a choker length or 36″. I must admit I’ve been wearing it myself! Gray Pearls, Labordite, African trade beads.

Mixed it up with metal and leather. Pendant is aquamarine, freshwater pearl, labordite.

Mixed it up with metal and leather. Pendant is aquamarine, freshwater pearl, labordite.

An order for a great customer. I need to make up a 9 pearl bracelet for myself with gray freshwater pearls and dark brown leather. It’s on the to do list!

An order for a great customer. I need to make up a 9 pearl bracelet for myself with gray freshwater pearls and dark brown leather. It’s on the to do list!

4 strand necklace with biwi pearls, copper trade beads, pink freshwater pearls, and rose quartz. It’s pink, but it’s tough!

4 strand necklace with biwi pearls, copper trade beads, pink freshwater pearls, and rose quartz. It’s pink, but it’s tough!

DIY: Macramé Bracelet

Here are the step by step instructions for making the macramé bracelet.  This is super easy–do not be afraid newbie crafter!

List of materials:

Stiff Board (I use a canvas panel from an art supply store) that is marked off in inch increments (great for all kinds of jewelry projects).

Office Clip

Silver Beads or others of your choice (make sure the holes are the correct size for the string you will use).  I like to use prayer beads and pearls too.  The Bead Chest is a great source for a wide variety.  They are on etsy and also have a web site.

Waxed Cord (I use this for the middle string as its stiffness is good for stringing the beads).  Try to match the color to your outside strands

Silk Cord–Mine came from Etsy.

A bead/stone/object to use for your end finding.  I am using a beach stone that has been drilled.  Etsy find once again!

The supplies all lined up and ready to go!

The supplies all lined up and ready to go!

1.  Cut the wax cord to 12″.  Thread thru your end finding and tie 3 knots to secure at the end of your wax cord.  The wax cord will be the middle of your macramé.

Drilled Beach Stone finding. Wax Cord tied in 3 knots to secure. You can glue the knots now for extra security.

Drilled Beach Stone finding. Wax Cord tied in 3 knots to secure. You can glue the knots now for extra security.

2.  Now string the silk cord through the hole in the finding.  I needed to use a stiff wire to help poke mine through to get it started.  A needle might help.  Pull the silk cord through until the bead/finding is in the middle.  Tie your first macramé knot, with the wax cord in the middle.  Use this YouTube video to acquire or refresh your skills! The point is to try to cover up the ugly knots you’ve just made!  I am using the brown wax cord to show the contrast for illustration.  For “looks” use a wax cord that is close in color to your silk.

Silk cord threaded through the finding–ready to start the knots!

Silk cord threaded through the finding–ready to start the knots!

3.  Keeping the wax cord in the middle, you may want to do 4-8 macramé knots before you attach the bracelet to the board with your clip.

Beginning of bracelet clipped to the board.

Beginning of bracelet clipped to the board.

4.  Now comes some creativity and decision making.  Knot as many as you like, depending how many beads you will use.  I did 6 knots, then clipped the extra wax cord that was still sticking out that formed the short strand.  I will end up using 10 beads.  So, I did my 6 knots, added a bead.  Then two more knots.  One in each direction.  (or as many as you like to get the space between the beads you like).  Maintain your pattern.  Add a bead.  Knots.  Bead.  Knots.  Etc.  Until 6″ long for a 7″ bracelet.  Most bracelets are between 6 1/2″ and 8 1/2 “.  Wrists vary almost as much as ring sizes!

Progression of beads. I will add 10 all together.

Progression of beads. I will add 10 all together.

5.  When you are at the very end of your Bead/Knot pattern, you need to secure the wax cord by knotting it with the silk cord.  I knot the wax cord with one side of the silk cord, then cross it over to knot with the other silk cord.  Try to tie the knots so the wax cord ends up in the middle again.  Then I tie a knot or two in the wax cord as close as possible to the end of the bracelet.  You can put a dab of glue on this knot now for extra security. Tie as many macramé knots as you need to match the pattern at the opposite end of the bracelet.  I had 6, remember? Then trim the wax cord so it is no longer sticking out.

Extra knots made in the middle for security.

Extra knots made in the middle for security.

6.  Remove the bracelet from the clip.  Tie two knots at the end with the finding between the silk cords—this will make the loop to put your finding through.  Do this twice to get an adjustable bracelet if you are selling it or making it for someone whose measurements are uncertain.

Making the first of two loops

Making the first of two loops

Shows the two loops plus the knots at the end of the silk cord. Voila! You are done!

Two bracelets ready to wear!

Two bracelets ready to wear!

Top bracelet is the one we just made–blue silk cord with silver metal African beads and a beach stone end.  The other is made with black waxed cotton and Ethiopian prayer beads. The closure is the adjustable slide closure as shown in the YouTube video.  The ends are finished with two pieces of beach glass.